HO scale
HO Intermediate Layout with DCC and Real Operation
Quick answer
A complete intermediate HO layout costs about $1,611. It is built on code 83 flex track with number 6 turnouts, runs on a DCC system with two locomotives and a freight roster, and carries full scenery with a printed backdrop.
This is the buy-once build. It is not the beginner layout with more things added: it is a genuinely different layout, laid on flex track at whatever radius the space allows rather than on the fixed radii a set track system offers, and controlled by DCC so two operators can run two trains on the same rails.
The thing that makes it feel like a step change is not the DCC system, it is the trackwork. Code 83 rail at a broad radius with number 6 turnouts runs long equipment properly and looks right doing it, and that removes the ceiling the first layout had.
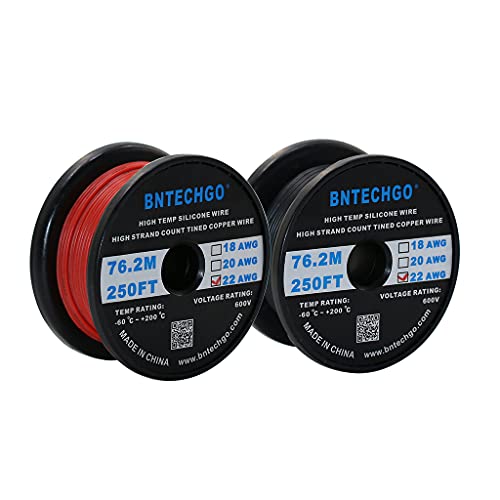
The second change is wiring. This build includes bus and feeder wire and a terminal strip, because a layout of this size wired through rail joiners alone develops dead sections within a year or two. Size the bus with the bus wire gauge calculator.
The complete build: $1,611
$1,611Benchwork and a top surface, which are not in this list. Work out the lumber with the <a href="/calculators/benchwork-lumber-calculator">benchwork lumber calculator</a>, and size the track with the <a href="/calculators/track-length-cost-calculator">track length and cost calculator</a>.
Track and turnouts
Code 83 flex track lays whatever radius the space allows. The number 6 turnouts go on the main line, the snap switches on industrial spurs where nothing long takes the diverging route.


DCC control and wiring
The wiring is not optional at this size. Rail joiners are a mechanical connection, not a reliable electrical one.


Motive power and rolling stock
Two locomotives so two trains can run, and enough freight cars to make up a train worth running.


Scenery and structures
A rail served industry earns its space twice, because it also gives the operator something to do.






Total for this build
Equipment only, at the listed prices when this page was compiled. Benchwork lumber, plywood or foam, and tools you already own are on top.
Why code 83 and number 6 turnouts
Two choices define this build and both are about what the layout can run rather than what it costs.
Code 83 rail is 0.083 inches tall against code 100 at 0.100. It is closer to scale for HO mainline rail and it looks noticeably better, particularly once the track is ballasted and weathered. The trade is that very old equipment with deep wheel flanges can bump along the spike heads, which is why code 100 still exists and is still the right answer for a roster of inherited equipment.
Number 6 turnouts diverge one unit sideways for every six forward, giving a 9.53 degree frog. Long equipment takes the diverging route without lurching, which a number 4 at 14.25 degrees does not. They cost length, which is why the industrial spurs in this list use snap switches instead: nothing long goes down them and the space is worth more.
Work out the ladder lengths for your own plan with the turnout geometry calculator.
What this build costs by area
Where the money actually goes, which is rarely where people expect.
Track and turnouts plus wiring come to roughly a third of this build, which is more than most people budget and less than the locomotives.
| Category | What it covers | Why it gets the money |
|---|---|---|
| Track and turnouts | Flex track, 4 turnouts, joiners, roadbed | Buried under scenery and miserable to redo, so it goes in right the first time |
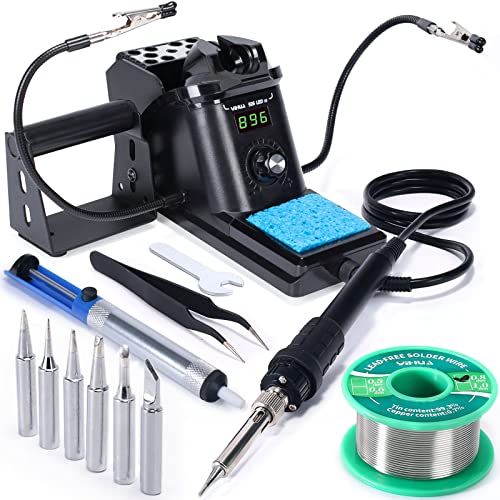
| DCC and wiring | System, bus and feeder wire, terminal strip, iron | Continuity problems are the commonest cause of unreliable running |
| Motive power and stock | 2 locomotives, 8 cars, wheels, couplers | The visible part, and the part easiest to add to later |
| Scenery and structures | Ballast, shell, trees, 2 kits, backdrop | The highest visual return per dollar once track works |
What you can skip
Sound on both locomotives. One sound locomotive is a pleasure. Two running at once on a small room is noise, and the second decoder is a substantial part of this budget. Put the money into track or scenery instead and add the second later if you miss it.
A booster. At this size the Power Cab supplies plenty of current. Work it out with the DCC power budget calculator before buying one on the assumption that more is better.
Expensive structures, early. Structures are the most visible thing to spend on and the easiest to add later. Track and wiring are buried under scenery and are miserable to redo, so they get the money first.
What to upgrade first
More feeders. If anything on this layout misbehaves, it is almost certainly electrical continuity rather than the locomotive. A feeder to every piece of rail, rather than every three feet, removes a whole category of intermittent fault and costs only wire and time.
After that, a second sound locomotive, then a turntable if the plan has anywhere to put one.
Frequently asked questions
What does an intermediate HO layout cost?
About $1,611 for everything listed: code 83 flex track, four turnouts, a DCC system, wiring, two locomotives, eight freight cars on metal wheels, full scenery and a printed backdrop. Benchwork lumber and a top surface are on top of that, as are any tools you already own.
Is code 83 track worth it over code 100?
For appearance, yes, noticeably so once ballasted. Code 83 is 0.083 inches of rail height against 0.100, which is closer to scale for HO mainline rail. Code 100 is more forgiving of older equipment with deep wheel flanges, so a roster of inherited locomotives is a genuine reason to choose it instead.
Do I need a booster with the NCE Power Cab?
Not at this size. The Power Cab supplies enough current for the two locomotives and lit stock in this build with headroom to spare. Work out your own figure with the DCC power budget calculator before assuming you need more, because an oversized booster is not automatically better and can damage decoders in a fault.
How many feeders does this layout need?
One every three feet as the practical rule, and one to every piece of rail as the counsel of perfection. Rail joiners are a mechanical connection rather than a reliable electrical one, and a layout depending on them develops dead sections within a year or two that move around and are maddening to diagnose.
Should I use number 6 turnouts everywhere?
On the main line, yes. On industrial spurs and in yards, no: a number 4 is much shorter, and where everything moves at walking pace and nothing long takes the diverging route, the space is worth more than the geometry. A number 6 main and number 4 spurs is a very common and defensible combination.
Can I build this in stages?
Yes, and you should. Track and wiring first, because they are buried under scenery and awful to redo. Then get trains running reliably and leave them running for a few weeks to find the faults. Scenery last, and structures last of all, because those are the easiest things to add to a working layout.
Researched, not professional advice. This page is compiled from published manufacturer specifications, instruction manuals, published NMRA standards and recommended practices, and owner-review consensus, not hands-on testing. Figures described as a rule of thumb are hobby convention rather than a standard, and they are labelled that way wherever they appear. Always check a radius, a clearance or a grade against your own equipment before you cut wood or lay rail, because manufacturers vary and so does what your specific models will tolerate. Any permanent mains wiring in a layout room is work for a licensed electrician to your local code.